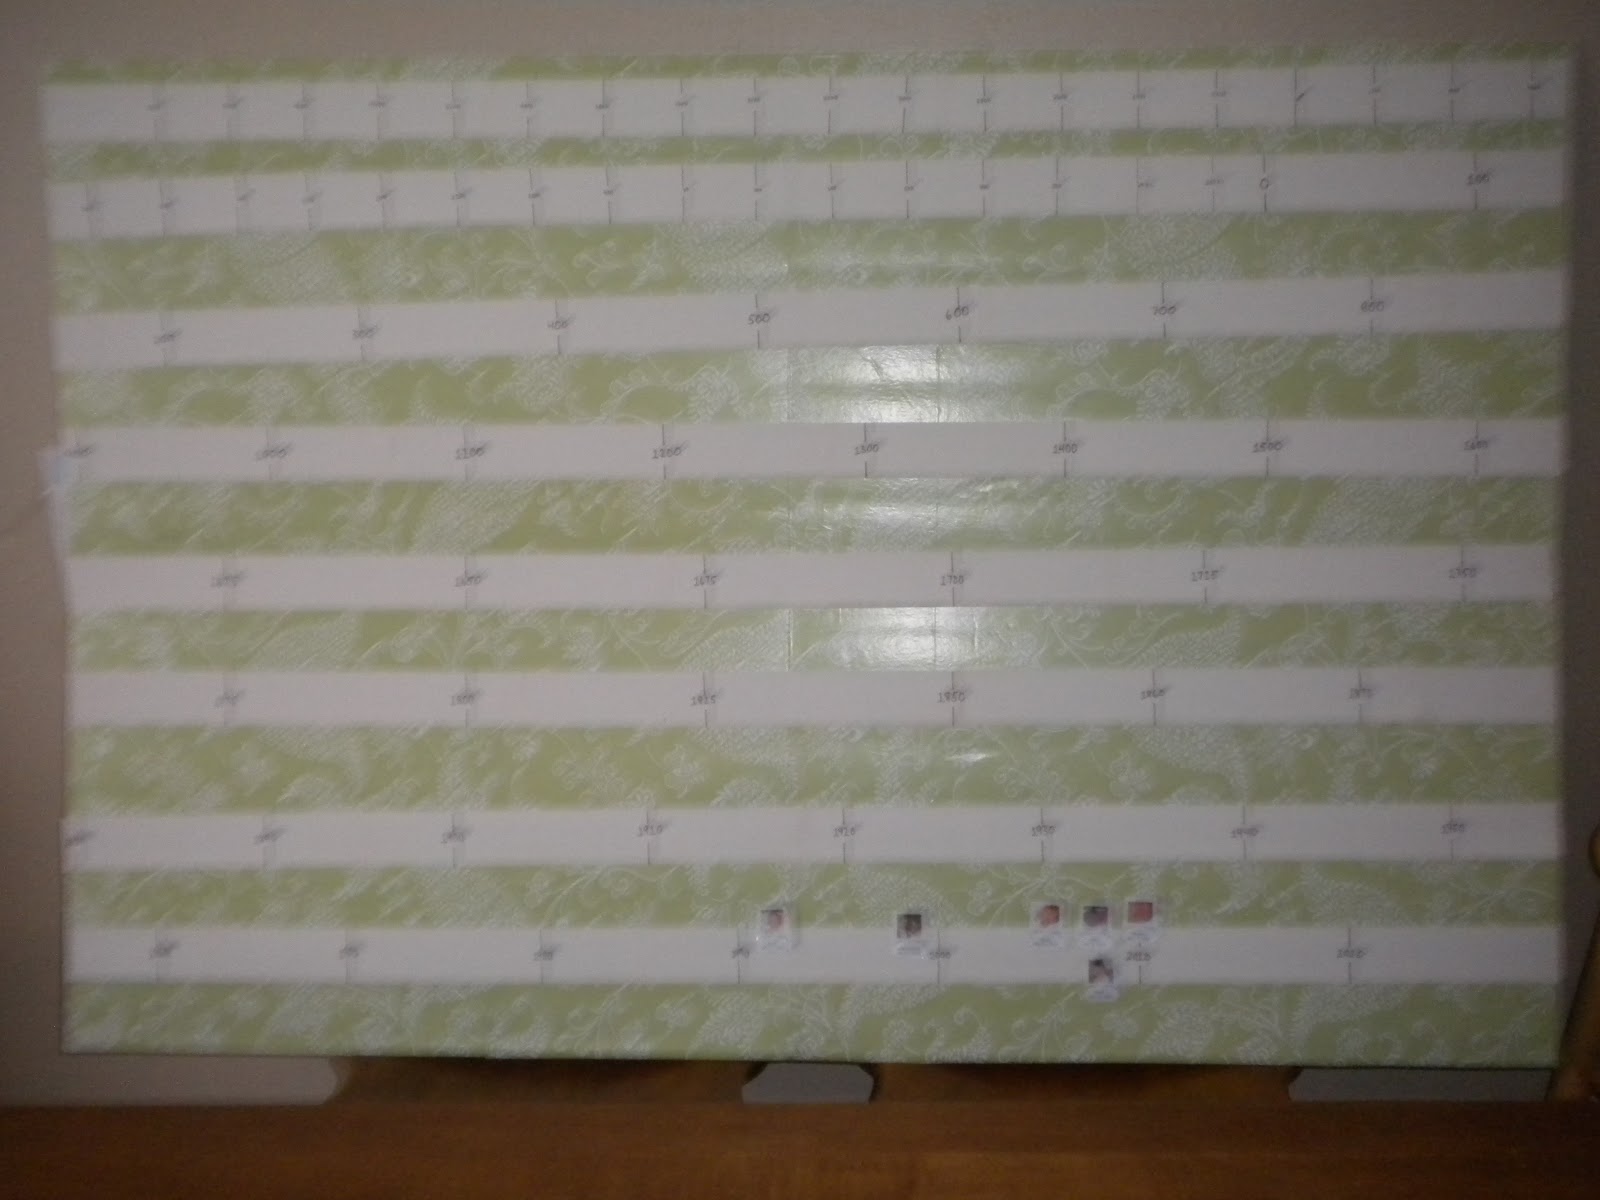
Without further ado, I give you our timeline:

Do you see the size of that bad boy? It's 5 feet long and 3ft 4inches tall. It dominates the room and is, sadly, the most attractive thing in the room. Aside from maybe the pink Christmas tree. Which was a Halloween tree and will become a "Saint Tree" and then a Jesse Tree before heading upstairs to do it's job as a Christmas tree in the kids' room when the time comes. But I digress.
I'm a bit proud of my timeline. It's not a great work of art, but it is much more attractive than many of the timelines I've seen. And in fact, it's much more attractive than the first one I attempted:
 |
| Here's a bad picture of my ugly timeline. |
Now, as I mentioned in my first post on the subject, I've accepted that my house will scream "we homeschool," but I still just couldn't bare looking at that every night at dinner. So I went back to the drawing board. I think I wandered aimless around Dollar Tree looking for inspiration when I was struck with the idea of using ribbon. I didn't find any suitable ribbon at Dollar Tree and ended up at Michael's.
I wandered around Michael's looking for any sort of round sticker to use for the year markers. I was shocked that I was completely unable to find appropriately sized round stickers. But I saw those giant hole punch things and realized that it was actually cheaper to invest in one of those and make my own "stickers" out of craft paper and glue. And I got a new toy out of the deal.
If you want to make a timeline like this one, here's what you need.
- 4 sheets of foam board, 30in X 20in (I got mine at the Dollar Tree)
- Duct Tape
- Contact paper in a pattern you don't hate - enough to cover the foam board. I also got this at the Dollar Tree.
- 40 feet of narrow ribbon
- a craft punch in a shape you like
- a ruler
- a sharpie
- glue - you're going to have to buy good glue designed to glue ribbon. I used something called Embellishment Glue in stick form. I tried using school glue and a glue gun and both were a disaster. Invest in the glue. Trust me.
The next step was the hardest for me, but I've done the hard work (the math) for you, so just follow my lead. Lay out 8 rows of the ribbon. You can be anal and measure to evenly space it, or you can just wing it like I did. I intentionally crowded it toward the top where I figure we'll have fewer dates to add and spaced it further toward the bottom where I figure we'll have more to add.

The next hardest part is getting the rows straight. Once I decided where I wanted the ribbon, I marked it on one side, measured it's distance from the top and then measured that out on the other side and laid it across. I tried all kinds of crazy things to get the ribbon straight. I hung a string from a weight and tried to get gravity to help me get it straight. . . You just have to decide how crazy you want to be about it.
 |
| See the black line? That's there's one in the same place on the other side. That's how I got the ribbon straight. |
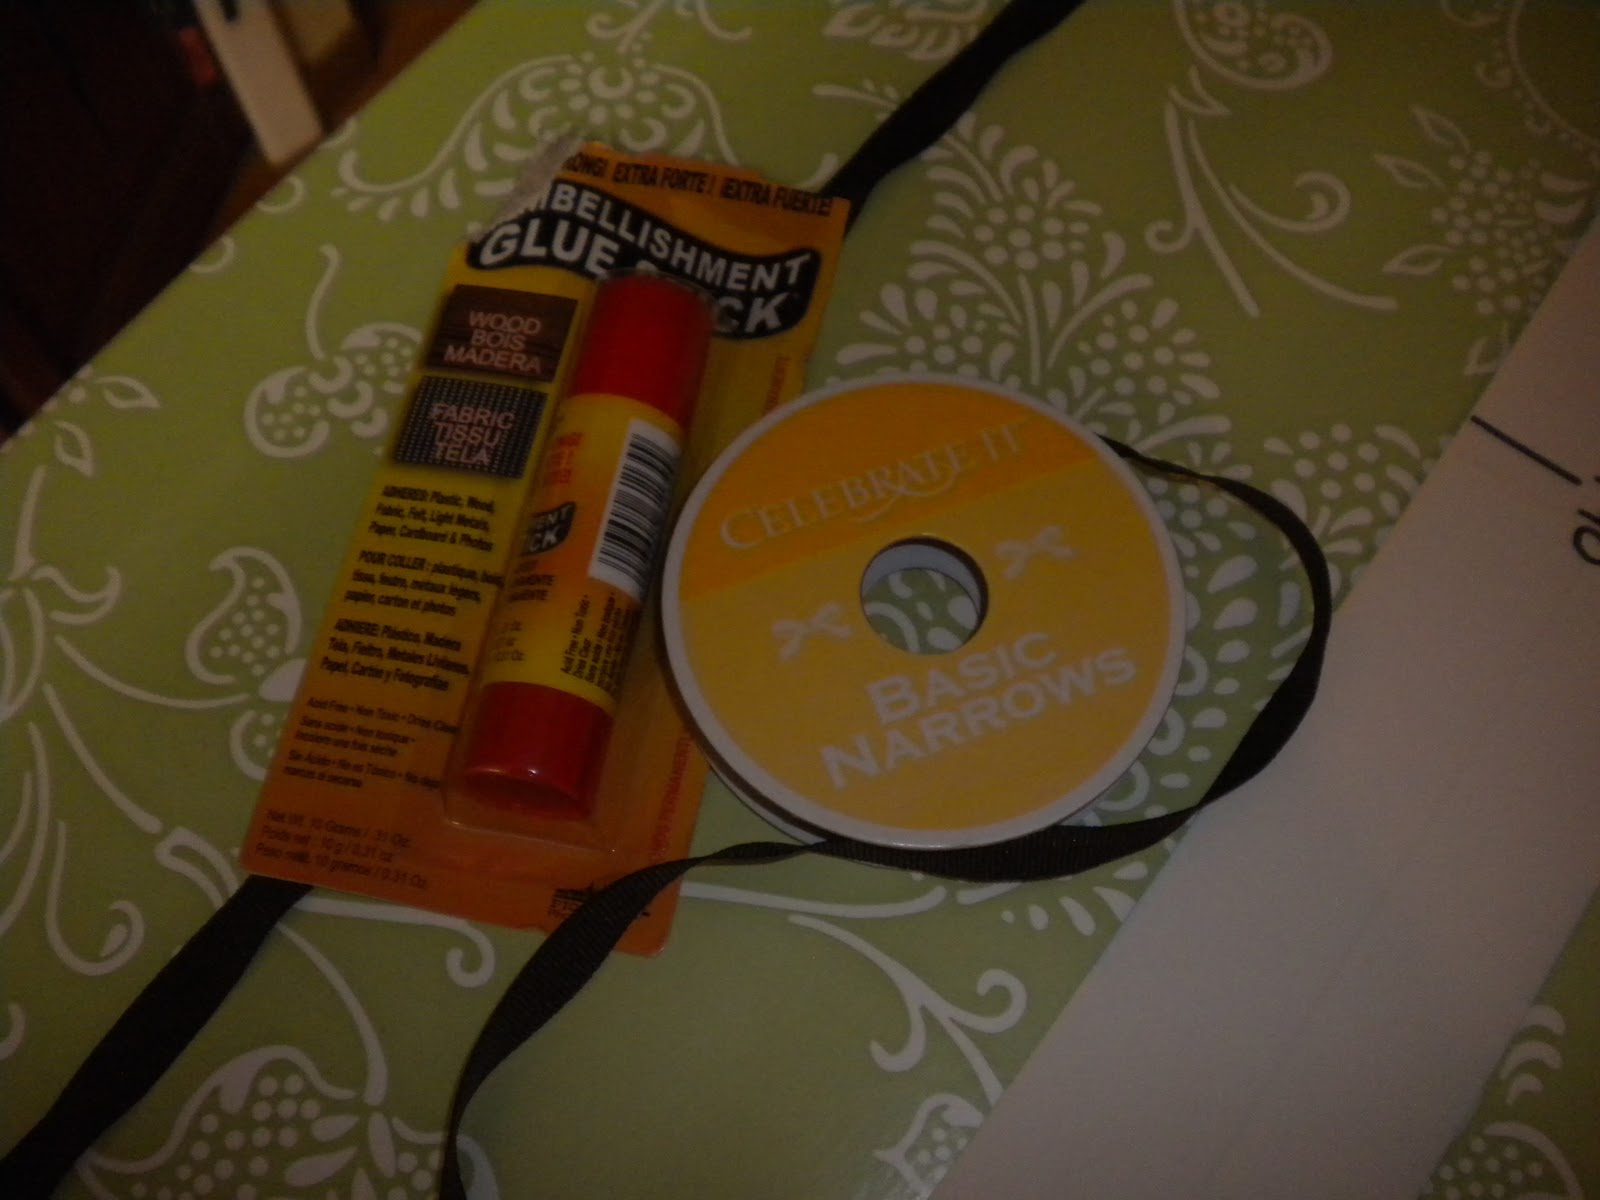 |
| The glue I used. This worked great and wasn't messy. |
Once you've got the ribbon on, the hard part is over. The rest is just tedious.
Take your punch and punch out approximately 18,000 punches.

Now you're going to write years on them as so:
- For the years 5000 BC to 2000 BC, write every 200 years (5000, 4800, 4600, etc.)
- For the years 2000 BC to year 0, write every 100 years (2000, 1900, 1800, etc.)
- For the years 0 - 1600 AD, write every 100 years
- For the years 1600 - 1850, write every 25 years
- For the years 1850 - 2020 write every 10 years
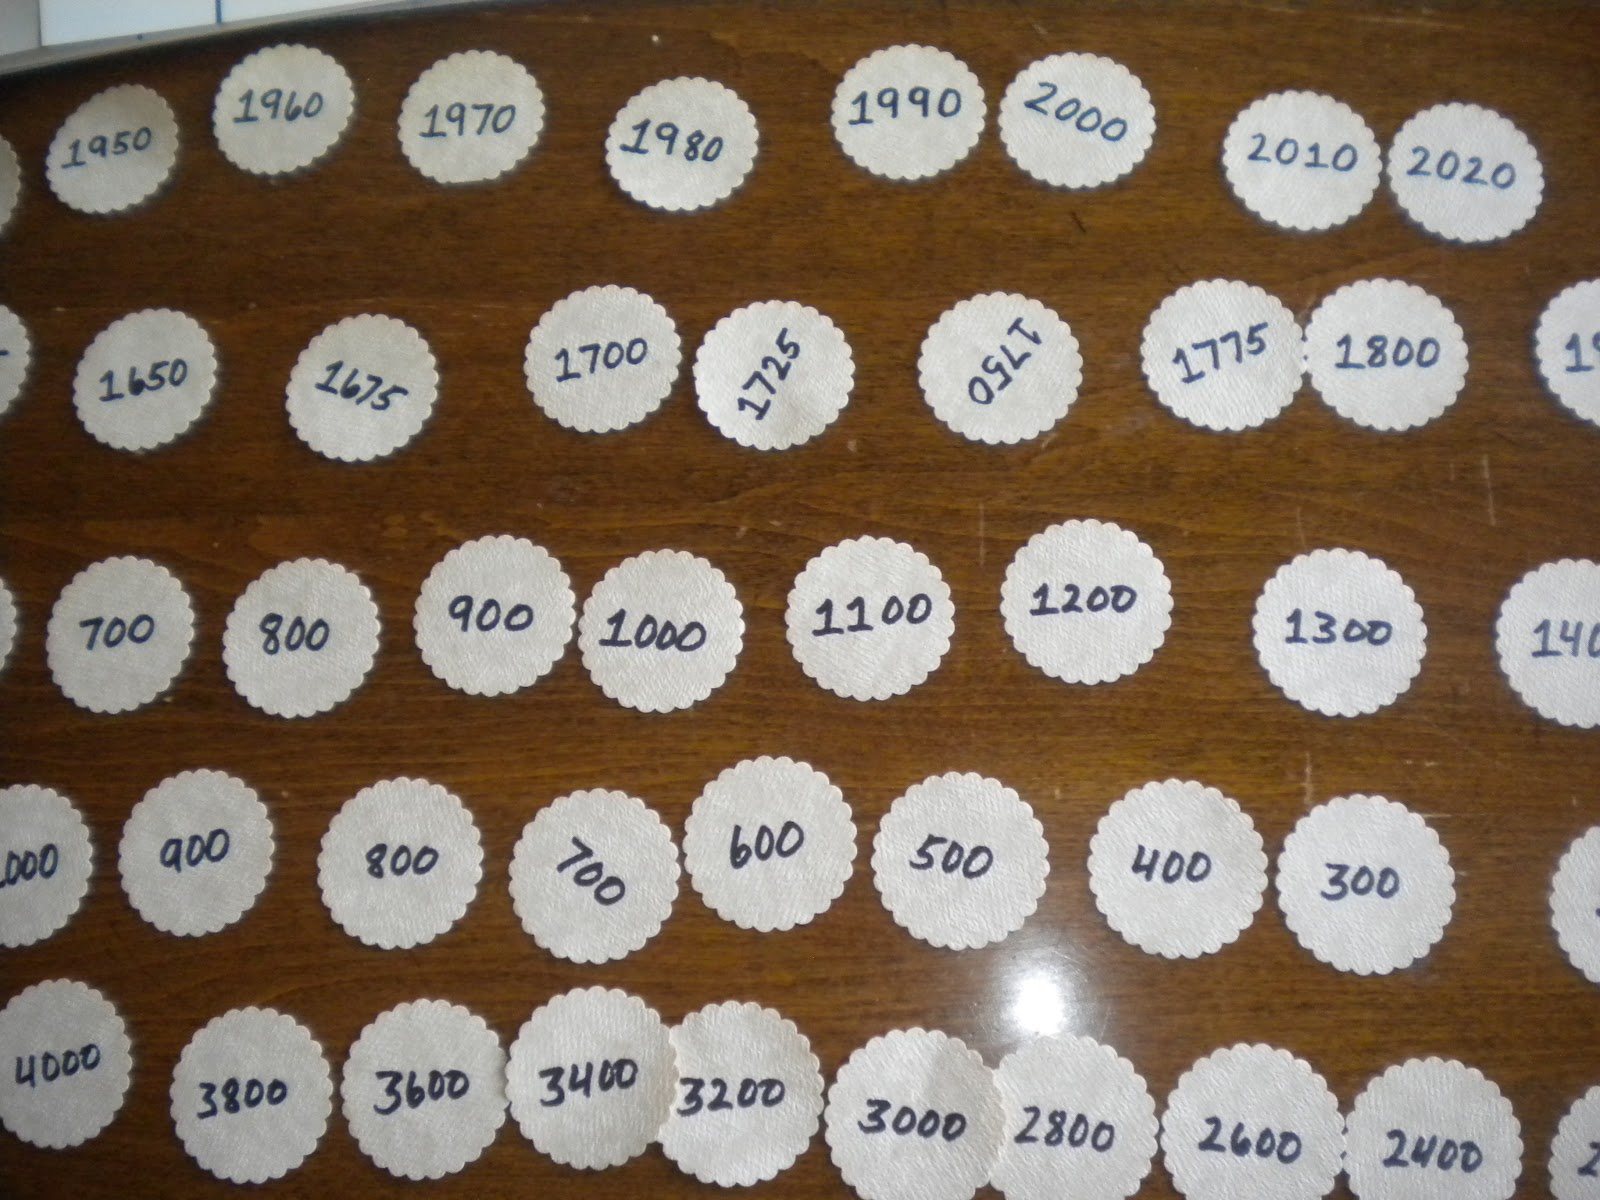
I went up through the year 2020 because I want to add stuff to this as we go forward, and I plan to leave it up forever.
Okay, now you're ready to stick all of these on. Use the same glue as before and, starting with 2020 and working backwards, space as follows:
- 2020 to the year 0, one marker every 8 inches (measure from the middle of one to the middle of the other)
- year 0 to 5000 BC, one marker every 3 inches
There. Now you're done. Stand back and admire your handiwork!
Since I'm really committed to this timeline, I stuck it to my wall using that double sided foam tape stuff. It's not going anywhere. In fact, I want to paint the room and I think I'm just going to paint around it. I'm afraid I can't get it down without destroying it.
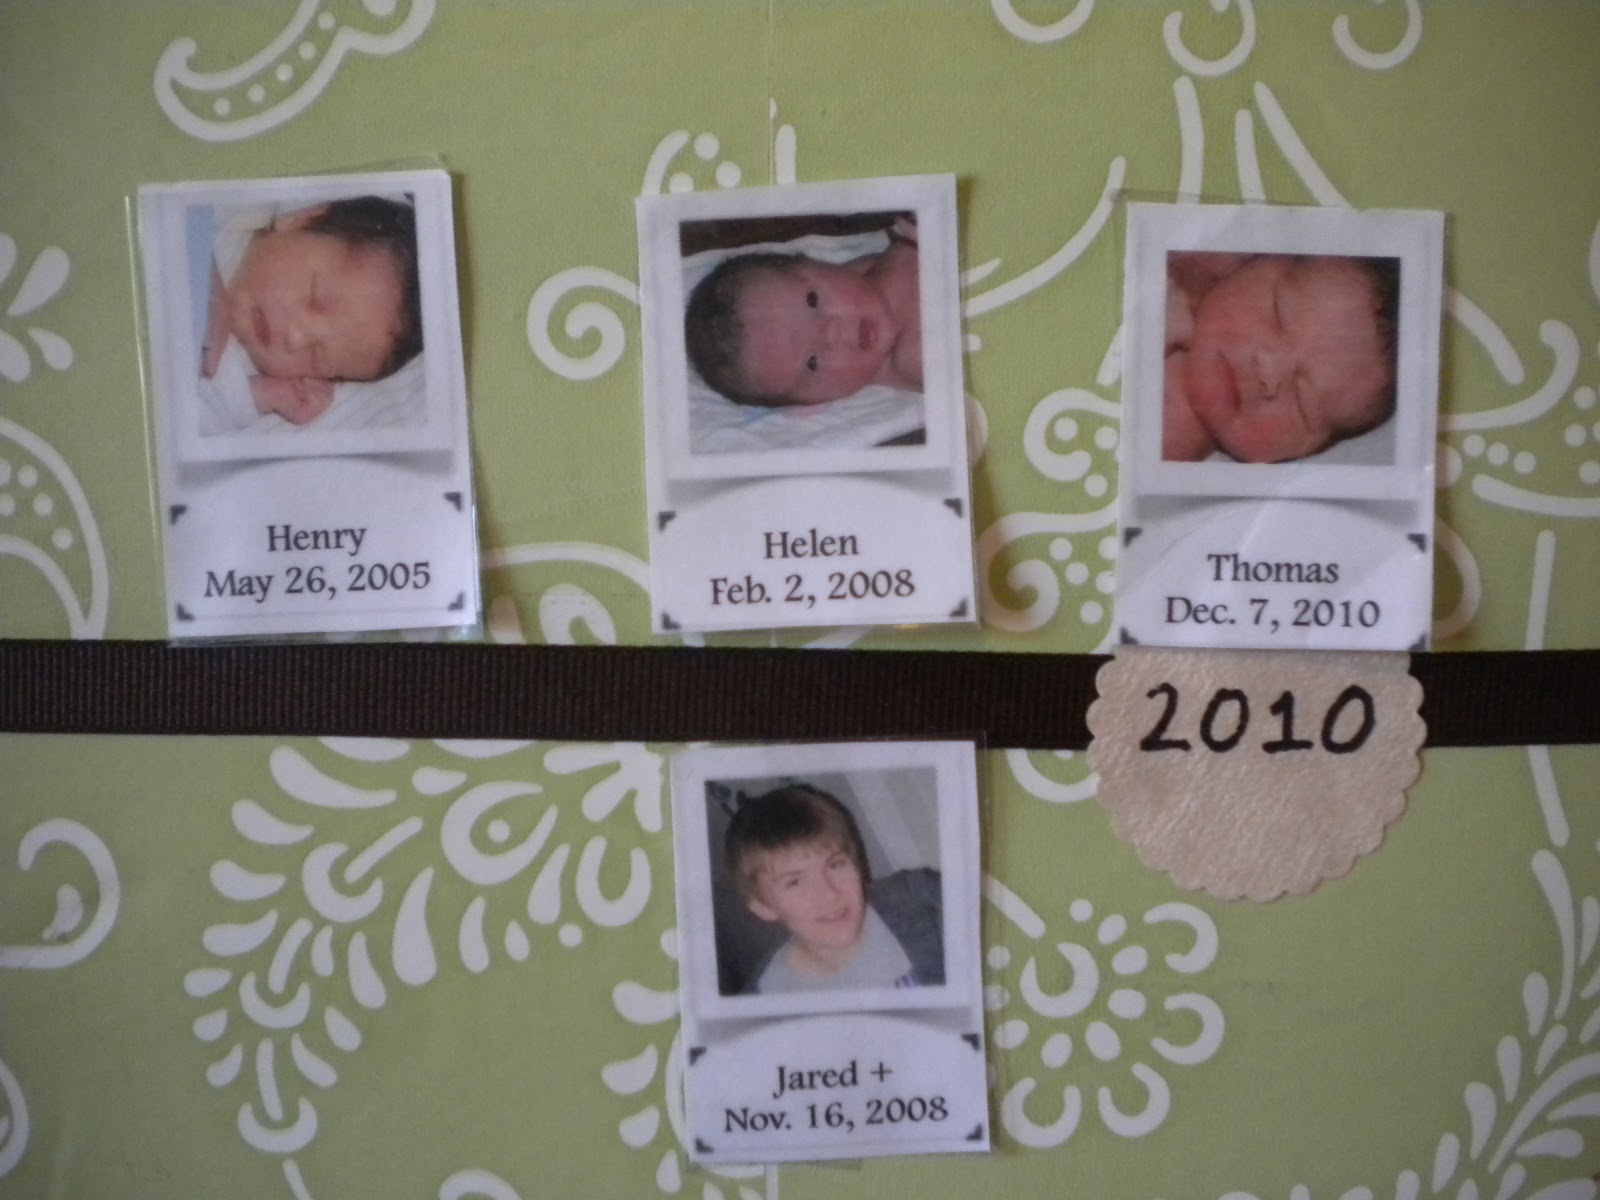
All you have to do now is add the history. I made a template in Pages where I can just drag and drop images from Google Images into the template and then print, cut and laminate. I happen to have scored a laminator at Goodwill on half price day for a grand total of $4.50. So I get to laminate. But you can use packing tape if you're not as lucky in your thrifting as I am.
One of the reasons I wanted to make my own timeline is because I wanted to decide what goes on it. I wanted to be able to add important family events.
We also add the historical novels we read.

And whatever else we happen to take a fancy in.

We've had our timeline up for more than a year now, and it's not as fleshed out as I had hoped, but that is due at least in part to the fact that I seem to always be missing either printer ink, double stick tape, or laminate/packing tape. So I guess that's one drawback of doing it yourself. Another is that it is a pretty big project, but hopefully the mistakes I made will make your efforts easier. I really am proud of this. And it really is a great conversation starter - both for family dinners and for anyone who comes to our home. I had high hopes when I made it, and I think, so far, it's delivering what I'd hoped it would.
